本文介绍使用IDEA控制Git操作
关联本地Git客户端
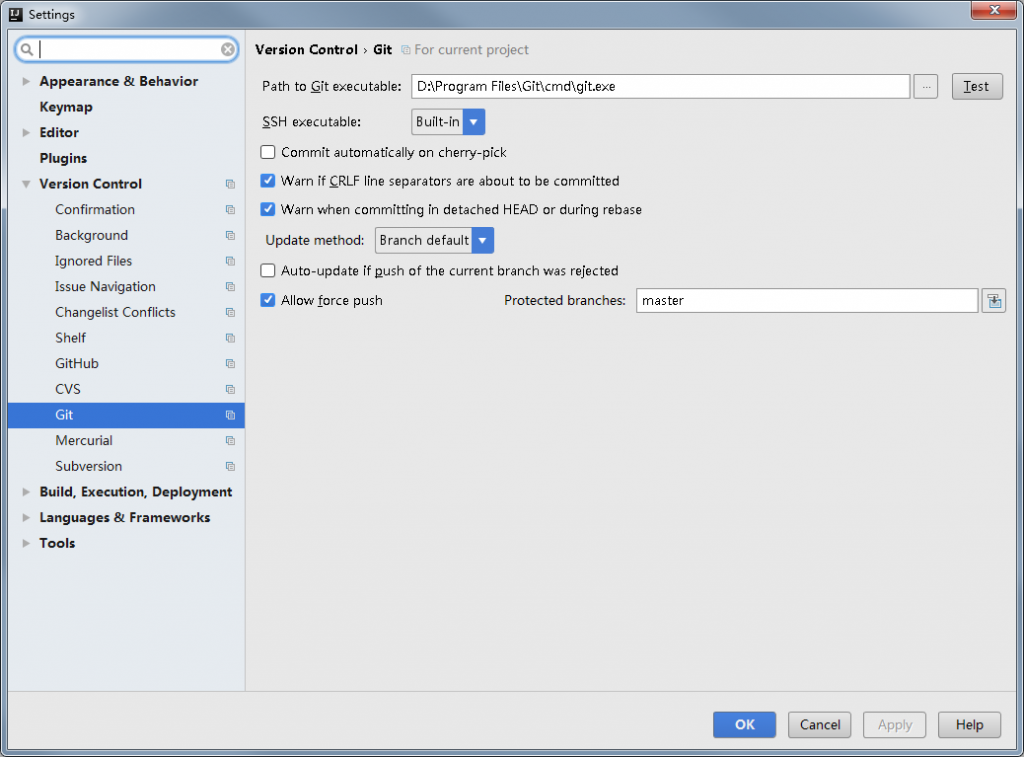
首先要根据系统环境安装Git客户端
然后使用File –> Settings –> Version Control –> Git配置客户端安装目录
创建本地仓库
根据项目要求创建自己的项目
然后使用VCS –> Import into Version Control –> Create Git Repository…在项目上创建Git仓库

创建成功后会在项目文件夹内出现.git 目录
克隆远程仓库
我们可以通过两种方式克隆Git项目。
第一种,通过其他工具(如:Git Bash)将Git项目克隆到本地,然后使用IDEA直接打开项目。File –> Open…
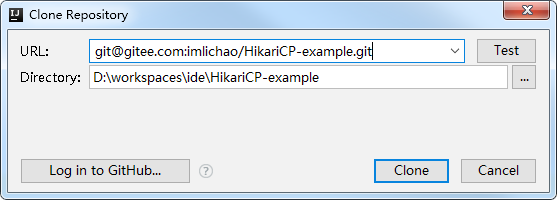
第二种,使用IDEA从版本库直接导入项目。File –> New –> Project from version control –> Git
我们需要填写Git版本库URL、存储目录
提交代码
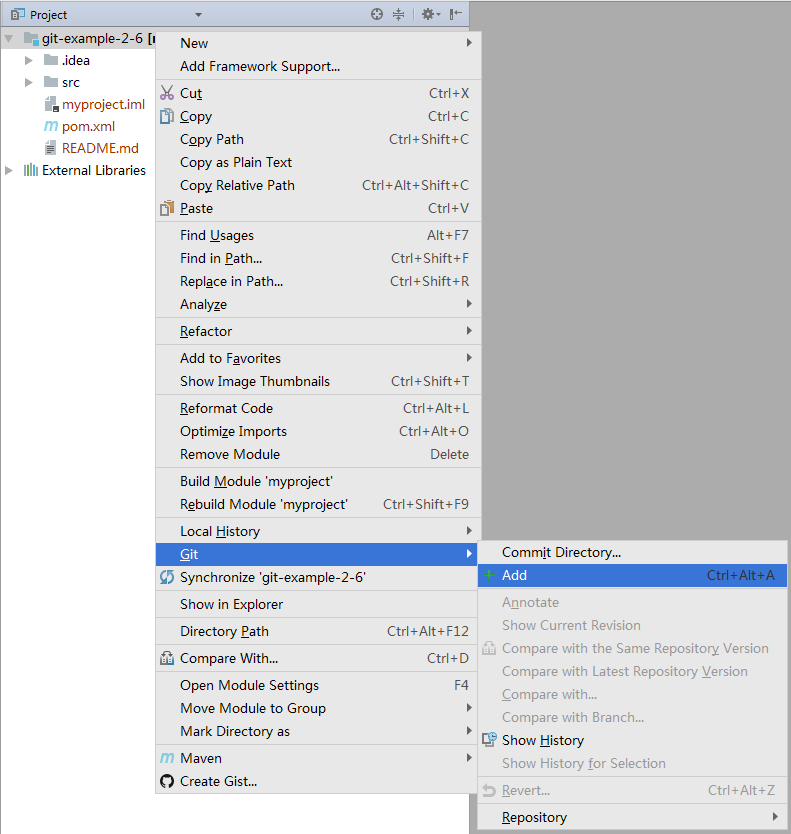
我们如果希望文件被Git管理那我们就要将文件进行add操作。
在IDEA中我们只要对某个文件设置一次add,之后就不用在手动进行add了。
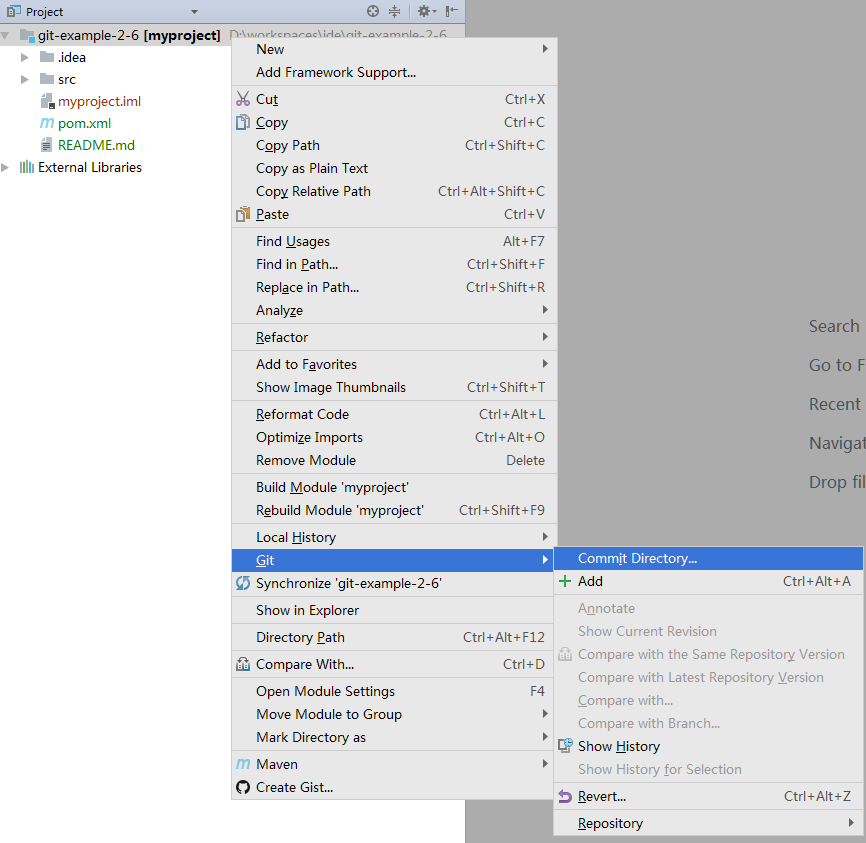
文件右键 –> Git –> Add
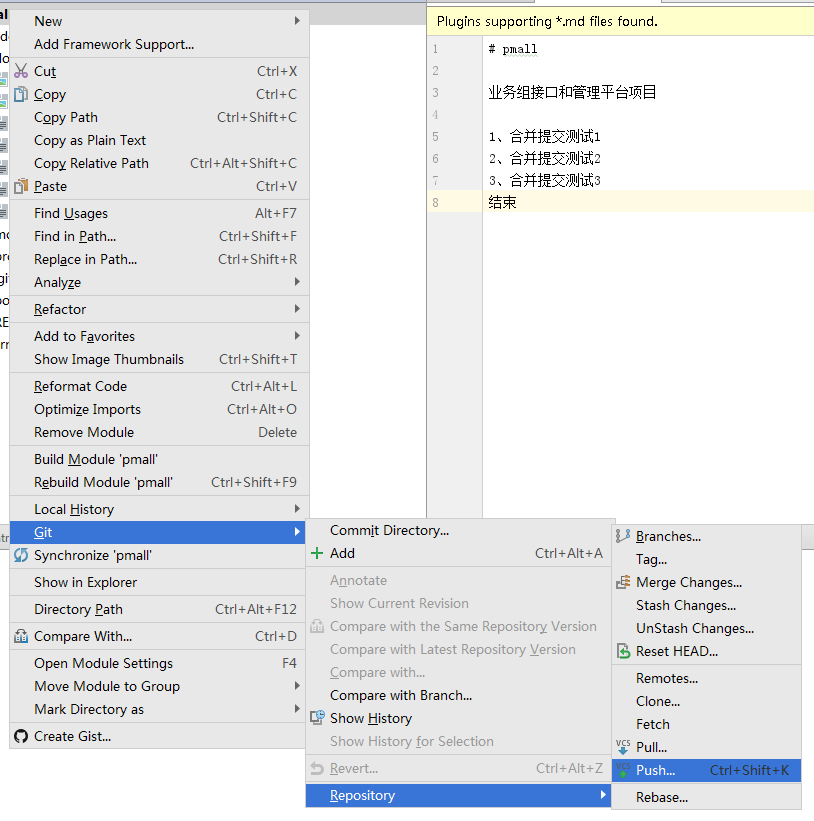
提交代码时我们使用 文件右键 –> Git –> Commit Directory…进行提交
分支管理
分支管理主要集中在IDEA的右下角操作区。

主菜单功能
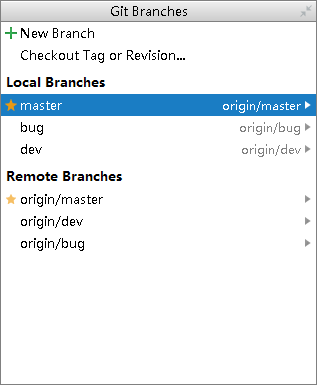
New Branch : 从当前分支新建分支。上图就是从master分支创建新的分支。
Checkout Tag or Revision : 使用分支、标签或提交编码,检出一个临时分支。
Local Branches : 本地分支列表。同时显示对应了那个远程分支。
Remote Branches : 远程分支列表。
本地分支菜单
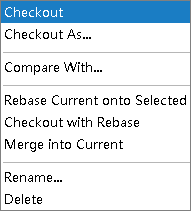
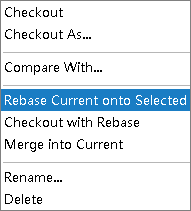
Checkout : 检出这个分支。
Checkout As… : 使用这个分支创建新的分支并检出到新分支。
Compare With… : 使用当前分支与所选分支做代码提交比较。
Rebase Current onto Selected: 在当前分支做变基。(将所选分支提交加入到当前分支)
Checkout with Rebase : 检出所选分支并做变基。(将当前分支提交加入到所选分支)
Merge into Current: 合并到当前分支(将所选分支合并到当前分支)
Rname:修改所选分支名称
Delete :删除所选分支
远程分支菜单
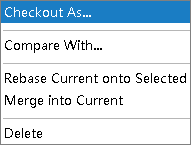
Checkout As… : 使用远程分支创建一个新的本地分支,并检出这个分支。
Compare With : 使用当前分支与所选分支做代码提交比较。
Rebase Current onto Selected : 在当前分支做变基。(将所选分支提交加入到当前分支)
Merge into Current: 合并分支(将当前分支与所选分支进行合并)
Delete :删除所选分支
本地分支推送到远程仓库

检出要推送的分支,然后项目右键 –> Git –> Repository –> push
push的时候会有new标签提示会在远程新建分支
标签管理
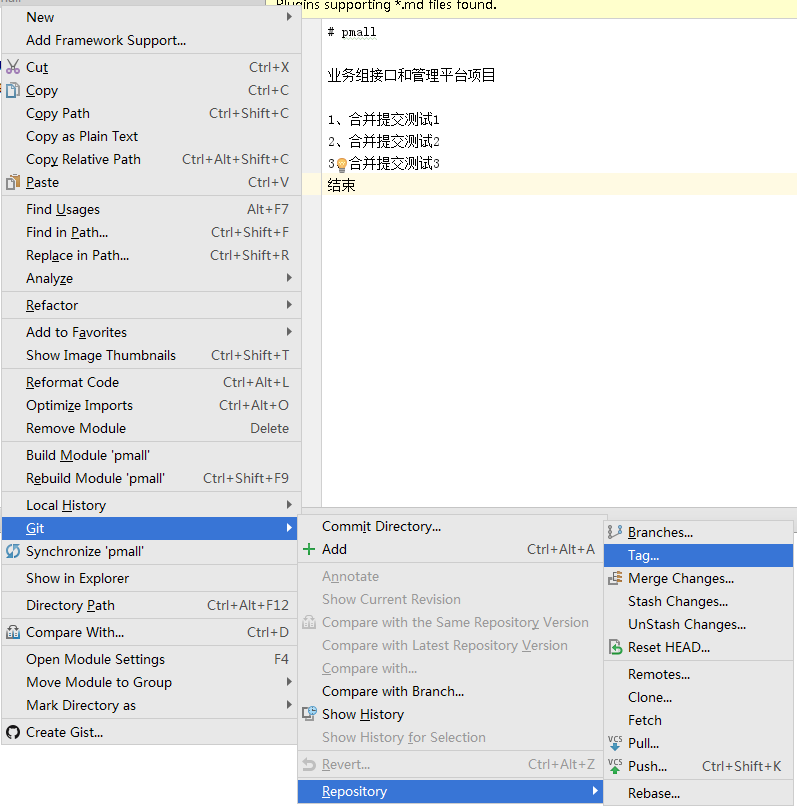
检出要打标签的分支,然后Git –> Repository –> Tag…
本地标签推送到远程仓库
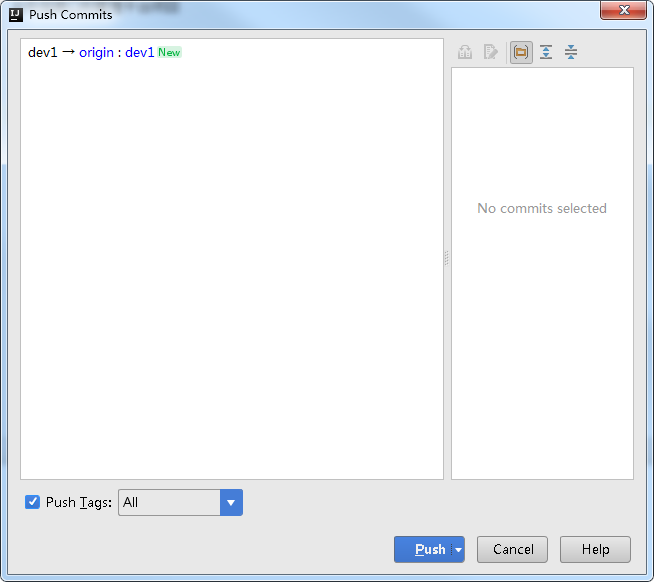
项目右键 –> Git –> Repository –> push

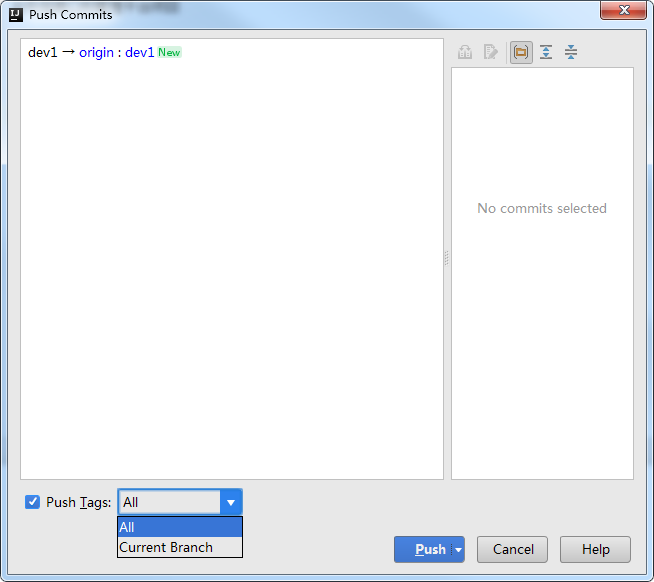
然后选中底部的Push Tags。我们可以选择推送所有标签还是当前分支标签。
代码拉取、推送
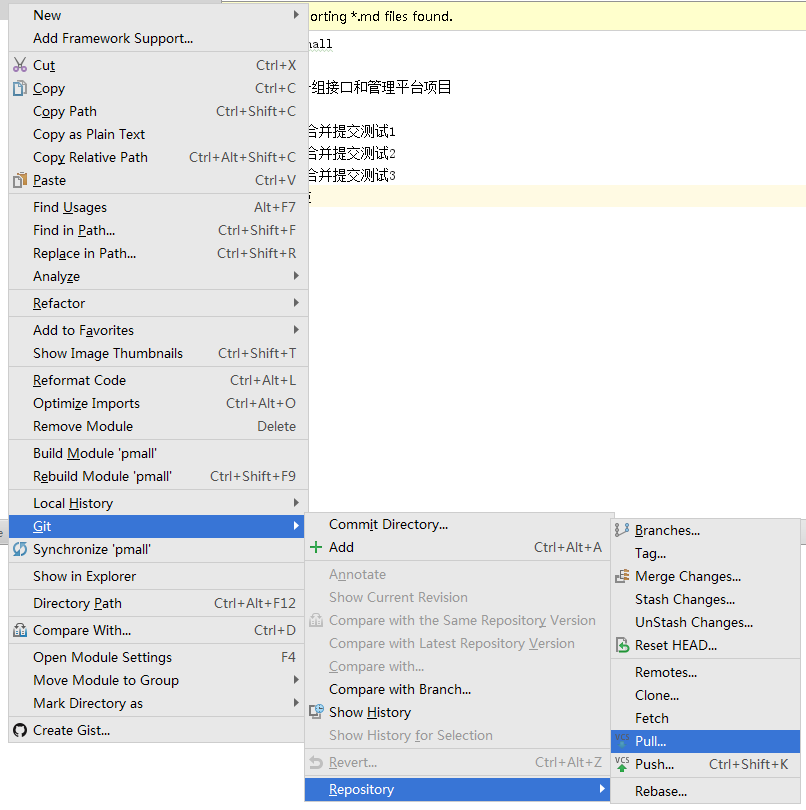
代码拉取项目右键 –> Git –> Repository –> pull
代码推送项目右键 –> Git –> Repository –> push
变基操作
普通变基
选择分支执行变基操作。这里需要注意当前分支为补丁分支,选中的分支为基底分支。也就是说当前分支提交会添加在选中分支提交之后。
合并提交(交互式变基)
在代码没有pull前我们可以在本地分支进行提交的合并。这样会使得远程分支不去关心本地开发过程日志,而使得远程日志干净整洁。
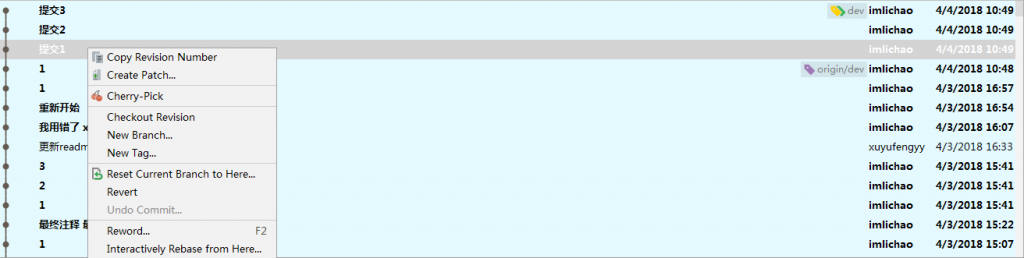
变基前log

找到要合并的第一条log,然后右键选择Interactively Rebase from Here…进行交互式变基
(此选项低版本IDEA可能没有请更新到2018版以上)
除题一条外其他全部选择squash随前面的提交一并提交
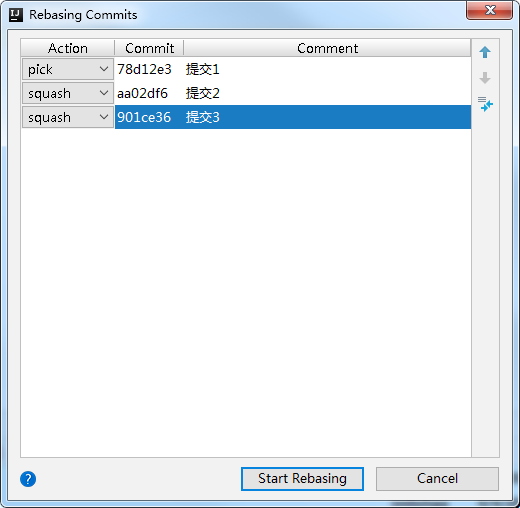
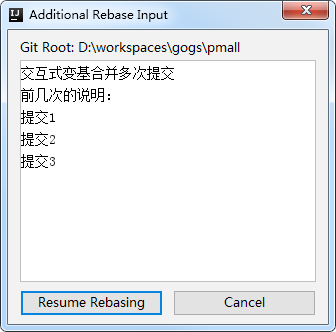
编辑交互式变基提交说明。默认显示合并的所有提交的内容,我们也可以添加和修改内容。
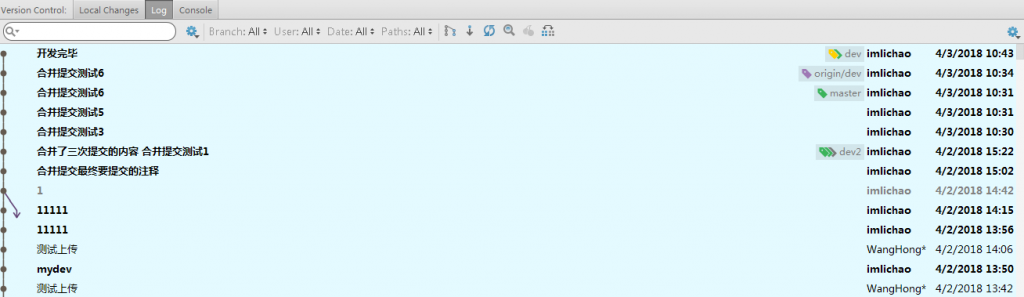
变基后日志

查看提交日志
log页签
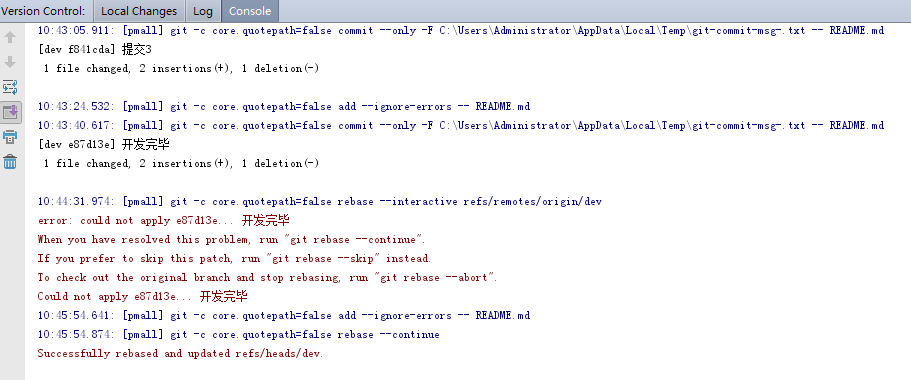
查看控制台
console页签。在控制台中我们可以看到实际执行的git命令,可以帮助我们查找问题。
储藏工作区
有时我们需要经正在编写的代码临时储藏,然后去修改一些bug,完成bug修改后进行恢复。这时我们可以使用代码储藏。
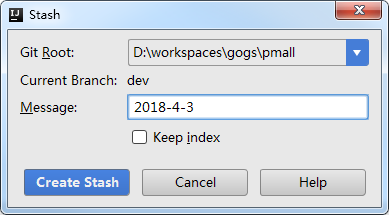
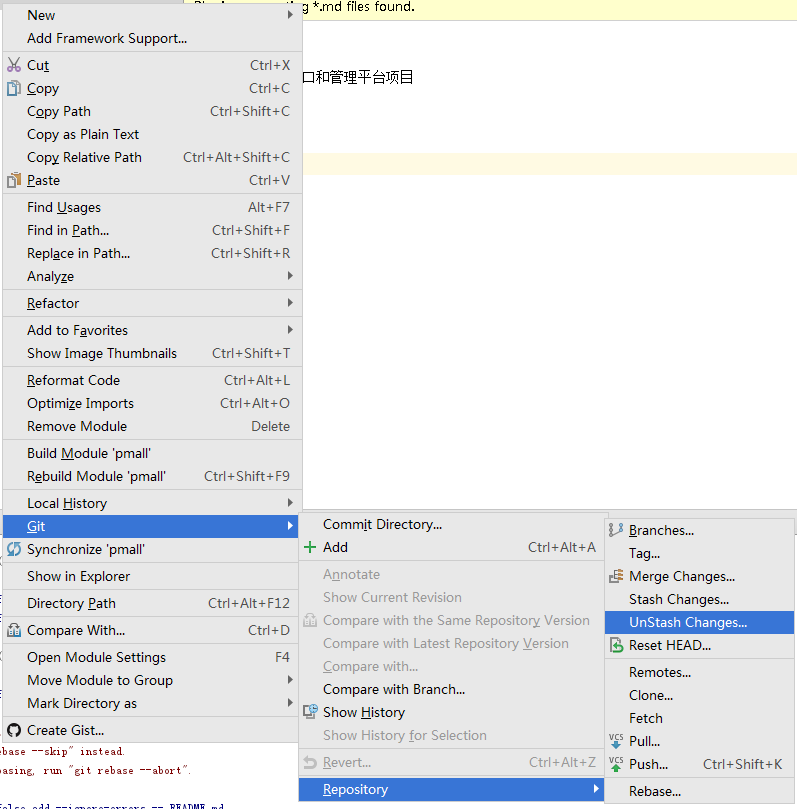
项目右键 –> Git –> Repository –> Stash Changes

填写储藏名称
这是我们会发现修改的代码不见了。
之后我们要恢复储藏区的内容
项目右键 –> Git –> Repository –> UnStash Changes
选择要恢复的暂存名称并恢复暂存
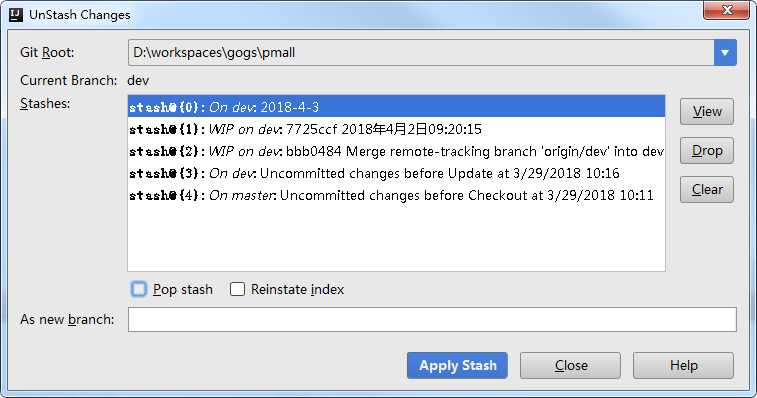
这时我们发现修改的代码又回来了
提交回退
我们如果想要放弃最近一次提交的内容可以使用提交回退
回退前log

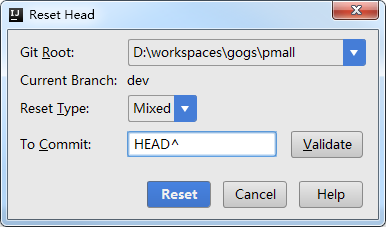
项目右键 –> Git –> Repository –> Reset HEAD…

执行回退(HEAD后面加几个^就回退几次提交)
执行后日志

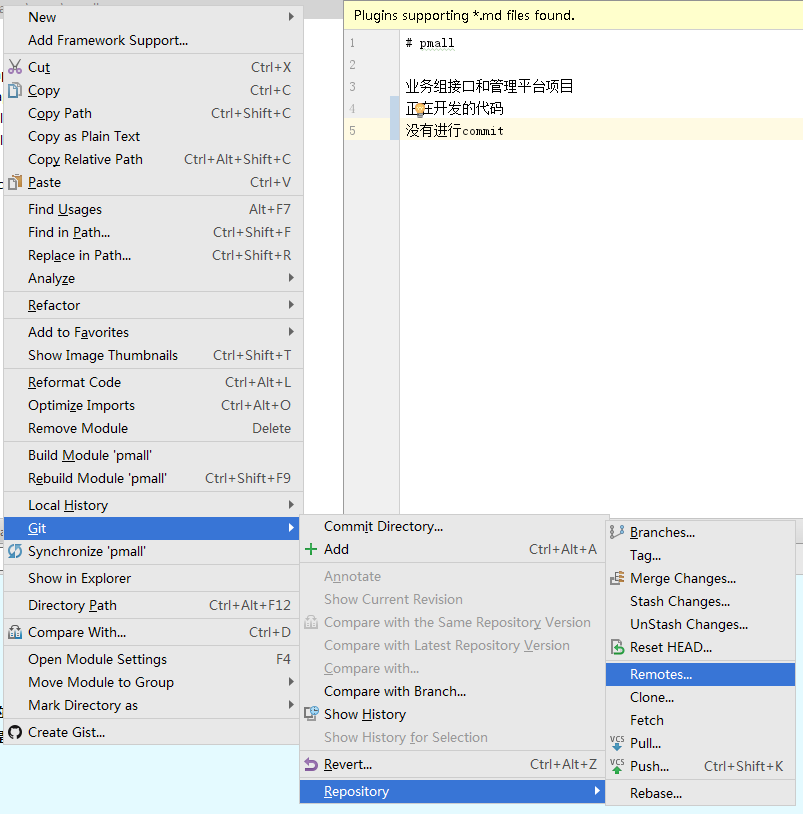
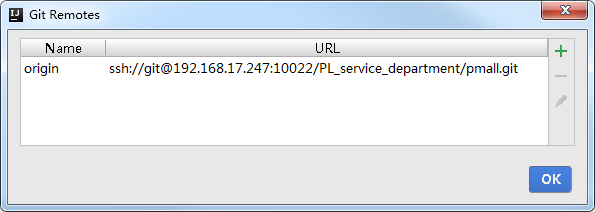
管理远程仓库地址
项目右键 –> Git –> Repository –> Reotes…
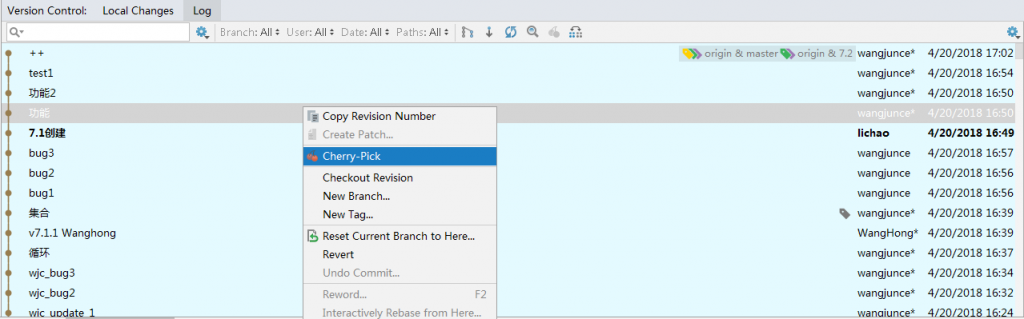
提交应用(挑樱桃)
我们可以使用提交应用的方式,将一次提交应用在其他分支上。
首先我们要切换至需要应用提交的分支上。
然后在log界面找到那次提交,右键 –> Cherry-Pick